Before you can begin building that groundbreaking new app you have been dreaming about you first need to get your development environment setup. The following steps represent the path of least resistance to get a development environment setup and begin development of your new killer app. The tools mentioned will also allow your new software delivery pipeline to be automated with another tool or 2 and some additional configuration.
Operating System
First we need an OS to host all of our tools and for our purposes that OS will be Ubuntu Server 18.04 host on the AWS Cloud. Once we have our AWS EC2 Instance up and running we can use PuTTY to SSH into our server.
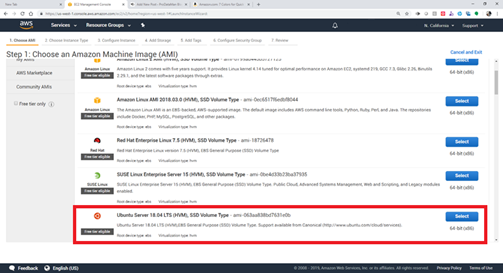
Once we have our AWS EC2 Instance up and running we can use Putty to SSH into our server and finish up the configuration of the new server.
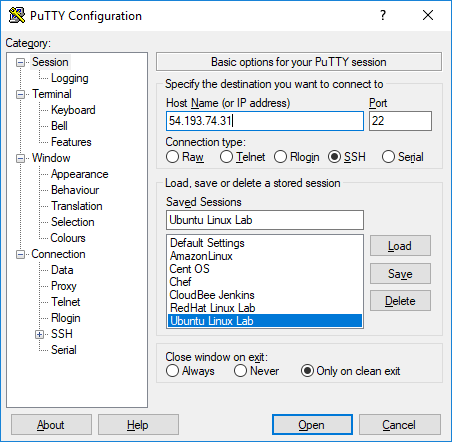
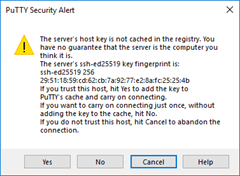
When we open the connection for the first time we will be prompted to add the servers host key to the cache if we trust the server and intend to connect to it again in the future. We do trust the server as we just created it and we also intend to connect to it again in the future so click “Yes”.
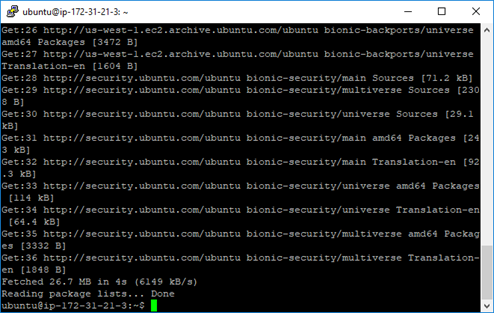
Once we click “Yes” we are successfully connected to our new Ubuntu Server in AWS.

Server Configuration
Now we can complete the configuration of our new server to allow us to install and use our development tools. First, we will run “sudo apt-get update” to download the package lists from the repositories and “update” them to get information about the newest versions of packages and any dependencies they may have.
Configure passwords and create developers account
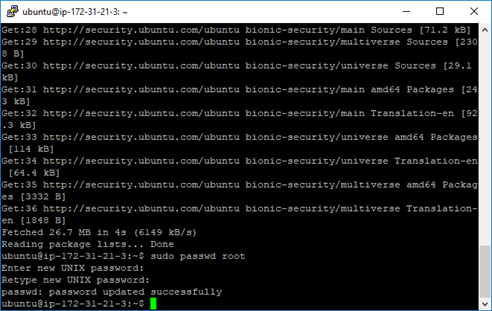
Next, we will set a password for the root user so that we can login to the console later if needed
Now we can create a new account to use when we connect to the server to do development. To accomplish this, we will use the command “sudo adduser developer”.
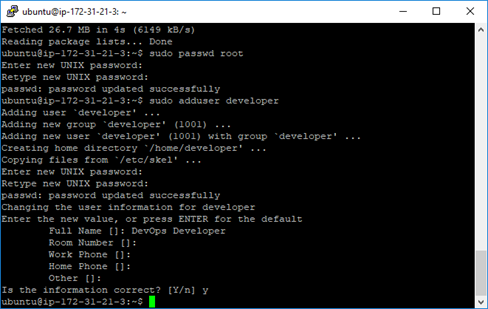
Once the user has been created we will add them to the admin group using the command “sudo usermod -aG admin developer”

Runtime Environment
Now that we have our server up and running and have configured our users we can begin installing the tools. First we will need to load the Java Runtime environment with the command “sudo apt install default-jre”. This will install the latest version of the runtime. It is important to note that while the latest version of the runtime is what we want to use for any new development it may still be necessary to load a specific version of the runtime to support a particular tool. For example Jenkins requires that version 8 be installed otherwise the installation will fail. For this reason we will install the version required by Jenkins as well by first adding the repository with the command “sudo add-apt-repository ppa:webupd8team/java”
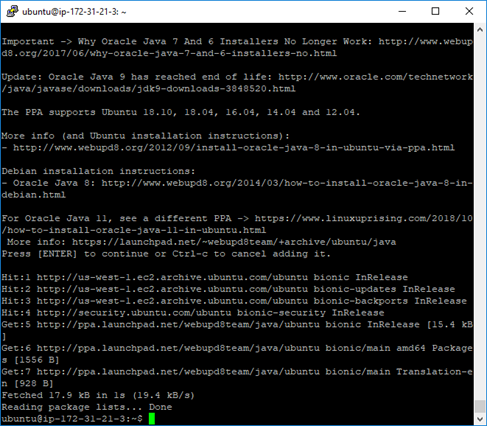
Then we will execute the command “sudo apt install oracle-java8-installer” to complete the Java 8 installation.

Build Tool
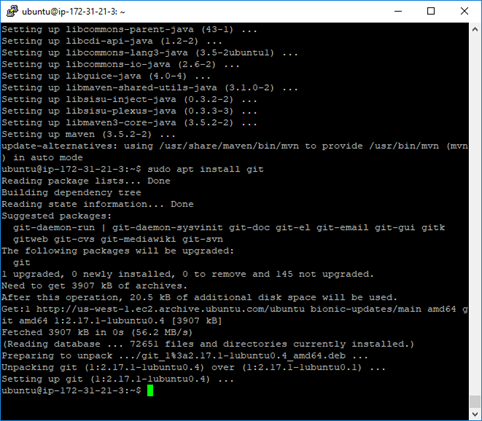
We will use maven to build our solution and specify dependencies in Eclipse projects. We will use the command “sudo apt install maven” to install Maven.
Version Control
Once Maven has installed successfully we can install Git with the following command “sudo apt install git”.
Then we can add our developer user to Git with the command git config –global user.name “developer”
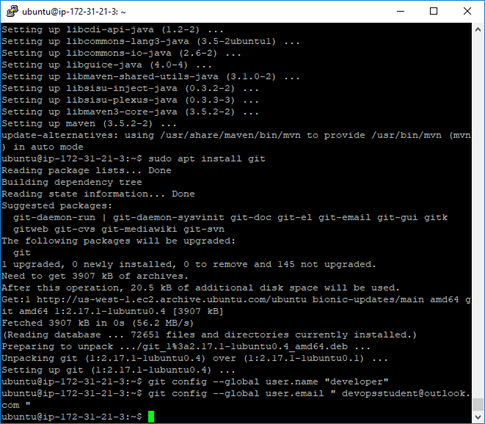
Using the git config –global user.email ” devopsstudent@outlook.com “ command we can include an email address for our developer.
Install Jenkins for Continuous Integration
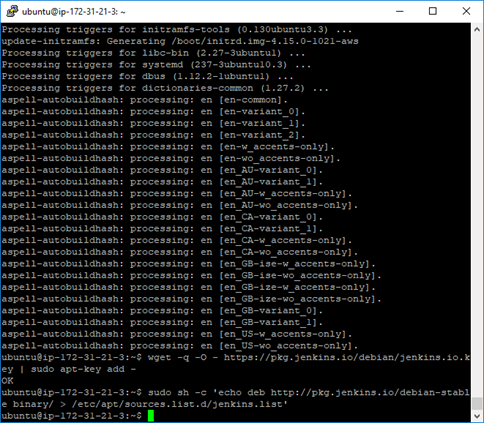
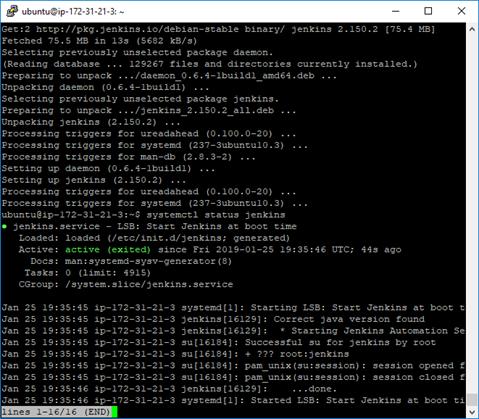
Jenkins can be used for many things from Continuous Integration to Continuous Delivery and Deployment depending on the plugins employed. Since Jenkins has so many uses in optimizing our software delivery pipeline we will install now and complete final configuration in a later post. The command to install Jenkins (after we have install the appropriate runtime version) is “wget -q -O – https://pkg.jenkins.io/debian/jenkins.io.key | sudo apt-key add –” to add the repository. Then “sudo sh -c ‘echo deb http://pkg.jenkins.io/debian-stable binary/ > /etc/apt/sources.list.d/jenkins.list'” to refresh the list.
Then we will need a “sudo apt-get update” to get latest. And finally “sudo apt install jenkins” to install Jenkins. After the install completes we can use “systemctl status jenkins” to verify installation was successful.
Note: The installation is case sensitive and Jenkins must have a lowercase “j”
Graphical User Interface
Before installing anything else we will install the Gnome GUI so that we can remote into this server and use the GUI to navigate between tools and locate files. To install Gnome we will first add the repository “sudo add-apt-repository ppa:gnome3-team/gnome3” then perform an update “sudo apt-get update” and finally install Gnome “sudo apt-get install gnome-shell ubuntu-gnome-desktop”
Install RDP and Open Ports
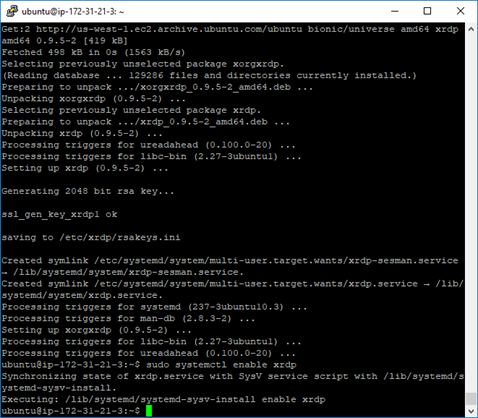
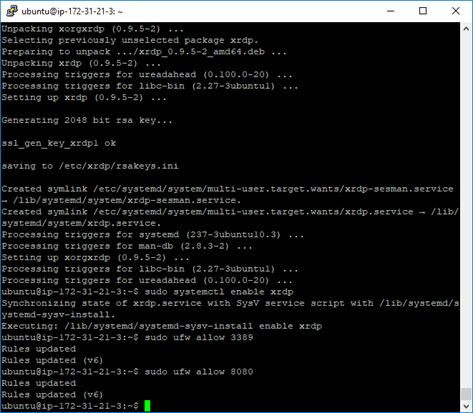
Once we have all system level tools installed we can install xRDP and open the Web and RDP ports so that we can connect to our server remotely. To install xRDP we can use the “sudo apt install xrdp” command and then use “” to enable it
Then open ports 3389 and 8080 with the commands “sudo ufw allow 3389” and “sudo ufw allow 8080”
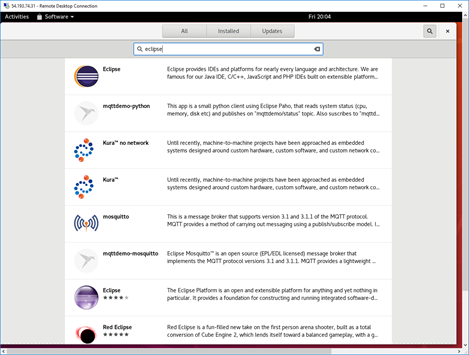
Now we can use Remote Desktop to connect to our server and install the Integrated Development Environment use the Marketplace in the GUI
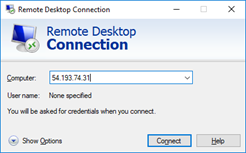
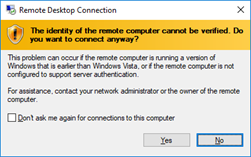
A dialog will notify you that the identity of the remote computer cannot be verified. Since we just created this server we will check the “Don’t ask me again for connections to this computer” checkbox then click “Yes”
Then we can login as the developer user we created earlier.
From this point we can use the Marketplace to search for and install additional tools using the GUI.